How to add image files to T4v8
Image files are the most common items which are incorrectly added to the University’s content management system, TerminalFour (T4). This post provides a step-by-step guide to uploading image files correctly to T4v8. If you have questions about uploading media to T4v7, please contact the digital communications trainer, Jennifer Hamrick, by emailing [email protected].
1. Prepare your image
Before you upload an image to the media library, make sure it is a high quality image at the correct resolution for your needs. Pixelated, dark or squint images create a poor user experience and make our website look unprofessional.
Find out more about image standards. Resolution sizes can be found in the digital pattern library.
If you need to quickly resize or crop an image, there are a couple of free tools out there that are easy to use:
2. Optimise your image
Image optimisation allows you to upload high-quality images at the smallest possible file size. This means that image loading times are much quicker when you optimise your image for the web.
You need to make sure your images are quick to load, because as soon as page load times take more than one second, the probability of users leaving your site increases.
Luckily, it’s really easy to optimise your images! After you have resized your image to the correct resolution, pop it into one of these free image optimisers (available for download):
- RIOT (for PC)
- ImageOptim (for Mac)
3. Choose the filename
This is the step that most people forget about when uploading an image. However, it is the most important step! Before you upload the image, make sure its filename meets our filename standards – lowercase letters, hyphens between words, no special characters and no dates or version numbers.
If the filename is not correct when you upload it, T4 will not recognize any replacement filenames as the same image. This means you will have to delete the uploaded image in the media library and replace it on every page you have used it (this is a hugely time-consuming task).
Why are we so picky about filenames? Besides making it easier to replace the file in the future, it also makes it easier for people and machines to read the filename when you follow the standards.
4. Upload to T4v8
After you have prepared your image and set the correct filename, you can upload it to T4v8.
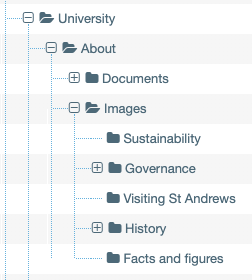
Choose the correct folder
You must choose the correct media library folder to upload the file. The media library for your section is organised between ‘Images’ and ‘Documents’. Within each of these folders, you should set up sub-folders for every web page within your section.
If your image is only going to appear on one web page, you should upload it to the ‘Images > [Page image will appear]’ folder (or even ‘Images > Subpage > [Page image will appear]’).
Only put images in the overall ‘Images’ folder if it is an image used throughout your site.
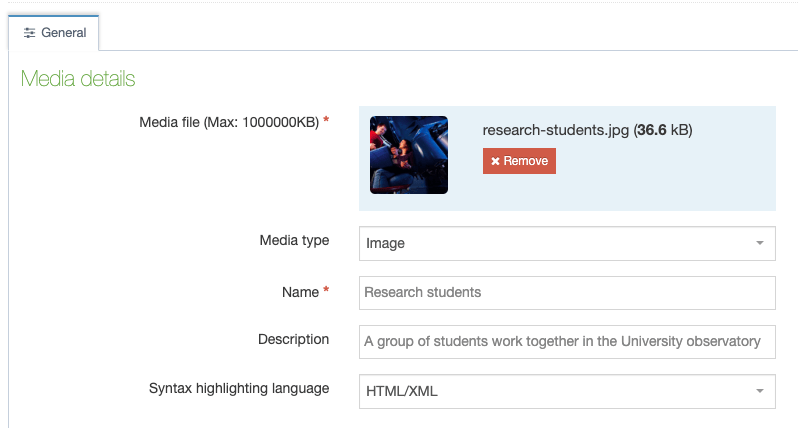
Add media
After you have chosen the correct media library folder:
- Select the ‘Add media’ button
- Drop your file (with the correct filename!) into the ‘Media file’ field
- Set a name for the ‘Name’ field. This should be something short and sensible so that it is easy to identify from the media library.
- Set the alternative text for the ‘Description’ field. This is the text that will appear for anyone who cannot see or load the image, and is mandatory for accessibility purposes. Make sure your text clearly describes what the image is showing for someone who cannot see it. Do not include irrelevant details such as image sizes.
- Save changes.
Setting up images correctly in T4 means a better user experience across the website. If you need help uploading a media library item to T4, please send your request to [email protected].