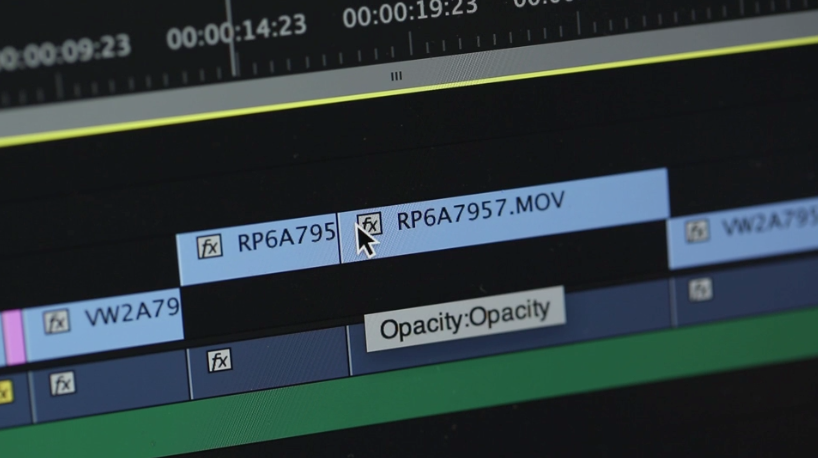
7 essential steps for editing professional videos
So, you’ve managed to professionally record video footage and now you’re ready to put your shots together to make your video. But, where do you start? Video editing is a daunting task for beginners. Let’s explore the essential steps you need to cover to make an awesome video that matches your intended vision.
1. Choosing your software
The most common question you’ll come across in video editing is, “What program did you use to make this?”. While there are dozens of recommended video editing software applications out there, they all essentially produce the same results. Although each is complete with advantages and disadvantages. Let’s try and find the right software for you.
Adobe Premiere Pro (PC or Mac)
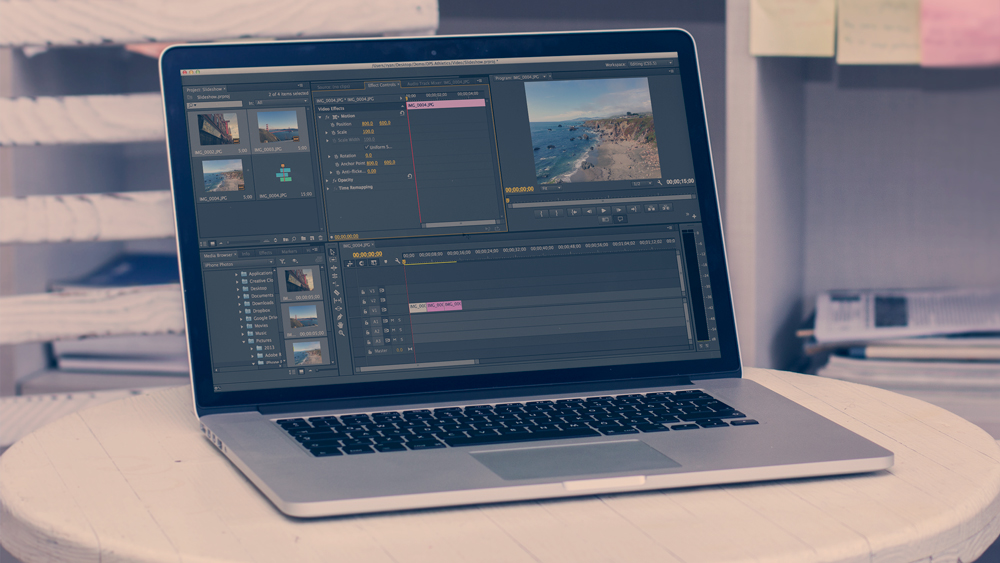
Personally, my editor of choice is Adobe Premiere Pro. Mainly because I’m a subscriber of the Adobe Creative Cloud and this application is included. Adobe Premiere is probably the most complicated application with the most features. When I first opened the program, I was overwhelmed by its capabilities and didn’t know where to start. However, after a few projects I found the long-term pay-off of this application is well worth it.
This application is available for both Mac and PC and has a huge amount of support from Adobe. It is regarded as the industry standard software for full flexibility in your video editing.
If you’re looking to make a long-term investment in video editing, then starting with Premiere is the way to go. However, if you’re only looking to cut together some quick footage for a short video, then maybe a lighter application will be your go-to choice.
iMovie (Mac) or Windows Movie Maker (PC)
If you’re a beginner looking to make a one-off quick video, these are the applications for you. They both offer intuitive bare-bones user interfaces and both are pre-loaded into your operating system. Free video editing software? Sign me up.
However, due to their limitations, if you’re looking to go on to produce large amounts of high quality videos, you’ll likely outgrow these programs quite quickly. I would recommend either of these options for first timers to familiarise yourself with the common video editing suite interface.
Final Cut Pro X (Mac)
This application is an affordable alternative to Premiere Pro. It offers a similar number of features and its interface is a matured version of iMovie.
If you’ve outgrown iMovie and are looking to step up to a cheaper alternative to Adobe, then this is the software for you.
Camtasia Studio (PC) or Telestream Screenflow (Mac)
While these applications are not highly recommended for editing pre-existing footage, if you’re looking to capture a live stream screencast of someone using a computer, then these are my recommendations for both operating systems.
We at digital communications use Camtasia Studio when recording our usability testing sessions.
iMovie for iOS (iPhone)
If you’re looking to cut some quick footage together on your iPhone, then iMovie for iOS is a simplified version of the desktop application that will help you stitch your pre-existing footage together.
While this doesn’t offer any of the advanced features you’ll find on a desktop application, it does allow you to trim clips, add music and titles to your footage.
2. Transferring footage and organising projects
The first step in video editing is transferring all of your footage from your camera to your computer. If your footage is from a video camera or DSLR, then you’ll want to copy your footage off the SD card from your device. If your footage is from an iPhone, then you can connect the phone to a Windows computer via USB cable and access the read-only device. On Mac, I would recommend using “Image Capture”, a pre-installed application, to easily transfer your files from your iPhone.
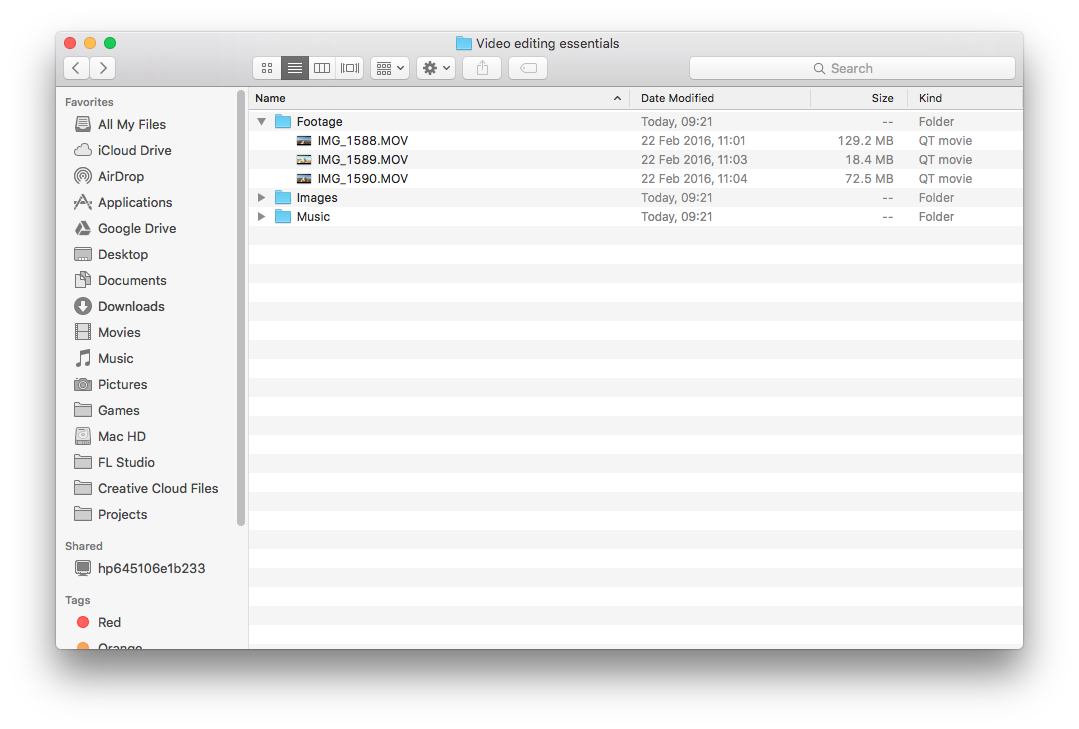
I like to create a folder for each project I work on. I create a sub-folder for all the raw transferred video footage and divide any additional media, such as music or images, into separate sub-folders too.
Open up your editing software of choice and create a new project inside of your project folder. Next, drag your footage folder into the project tab. Your video editing software will reference the location of the original files, so make sure you don’t move or delete them until you’ve finished your project.
3. Finding and assembling the best takes
Go through the clips and look for the best takes of each one. This may be the best reading of your script or the most visually impressive shot. To do this, double click each file in your project and scrub through the clip to assess the quality of each.
This step is important to assure the highest quality for your final product. Be super critical of things like delivery, pacing, and the facial expressions of your subject.
Here are some tips to consider when looking for your ideal take:
- For shots of spoken dialogue, make sure the person speaking has a high energy level and the pacing of the dialogue delivery is natural.
- For shots of landscape or scenery, comb through your footage for a shot that has some movement, but highlights the focus of your shot in the best light.
- Go with your gut. Sometimes you’ll just know what the best shot for your video is. It’s a sixth sense.
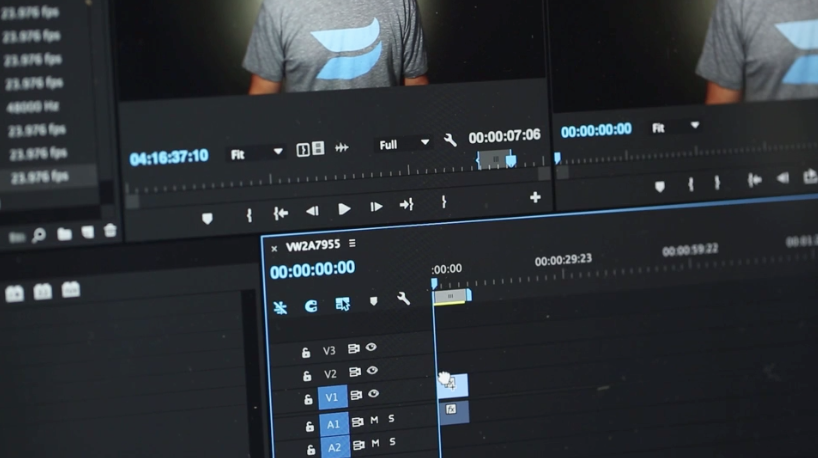
Once you’ve found your preferred take, add it to your project’s sequence timeline. Apply this same process for every shot, laying everything out in linear order. This is called “assembling the edit.”
4. Trimming the head and tail
With the arrangement of your video now in place, you can start to make some finer adjustments to the pace and flow. In a nutshell, you’ll want to trim the beginning and end of each of the clips you arranged in the timeline. Don’t underestimate the importance of this step! Fine-tuning your edit will help to create a video that feels more like a human conversation and less like a robot monologue.
Essentially, you’re looking to remove any “dead space” from your footage. This includes:
- Anything including preparation of the shot.
- Extended unnatural pauses in dialogue.
- An interviewer asking a question off camera.
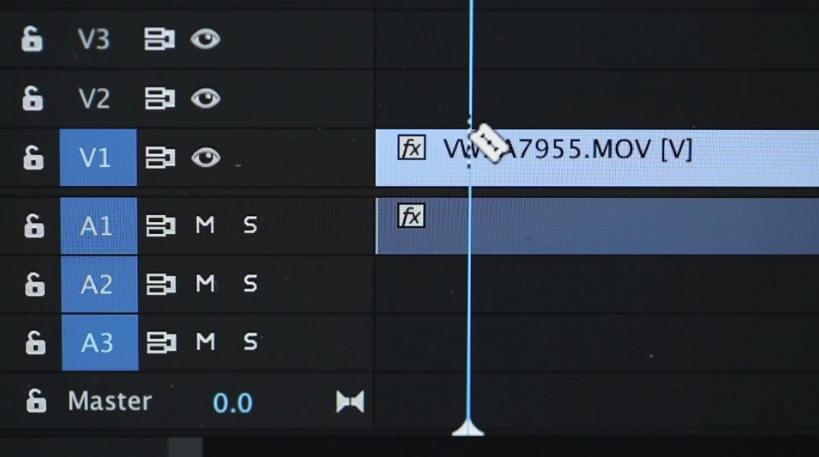
You can either use a cutting tool (this may be represented by ‘scissors’ or ‘razor blade’ icons), or simply drag the beginning or end of your clip to the correct position.
5. Adding music and B-roll
Royalty free music
Background music plays a really important role in your video. It’s a powerful way to drive the video forward and create emotion around your message.
It is important, however, that you don’t incorporate a popular song you don’t have the rights to. For example, if you were making a film based on your hot new motorcycle, adding “Born to Be Wild” by Steppenwolf to your video is going to cause some problems when you upload this video to the internet. This will likely cause YouTube to place a copyright notice on your video resulting in the video being blocked in various countries and becoming monitised by the owner of the rights to the audio.
To avoid any complications, stick to royalty free music. Some royalty free music licensing sites include Marmoset, The Music Bed, and Tunefruit.
To choose a song that compliments your content, play some music options alongside the video you’re editing until one feels right.
Once you’ve found the right track, drag the audio file into your project and then into your timeline. To make sure the music isn’t overpowering your narrative, adjust the volume of the music track according to the volume of your narrative.
B-roll
‘B-roll’ is a film production term used to refer to supplemental or alternative footage intercut with the main shot.
If you shot supplementary B-roll footage, now is the time to add it into your video. Similar to how you selected the good takes of your script, find good B-roll clips and drag them onto a separate layer in your timeline.
Use B-roll to help tell your story visually and hide any jump cuts or voiceover sections in your video.
6. Exporting a proof
A worthwhile tip if you’re stuck in a creative rut is to take a break and come back later to your edit. Grab a drink or a snack, or just step away for a few minutes. Come back to the video with fresh eyes. This will help you notice things you may have missed when you were deep in the zone.
You can spend days or sometimes weeks meticulously perfecting a video. So it’s useful to know when to stop. It’s really helpful to share your video with a friend or colleague before you release it to the rest of the world. Export a proof and send it to some folks that you trust! This way you can gauge when the right time to export a final copy of your video.
Watch and listen to your video on different devices with different speakers, and collect feedback on how it was received. Make any revisions you think are necessary, then export your final video!
My next post will cover exporting videos in the best format and resolution for the web.
7. Wrap-up and further resources
As mentioned in my previous post, there has never been a better time to start learning how to edit video. Editing is often seen as the most intimidating part of the video production process, but it doesn’t have to be that way! Here are a list of useful resources to aid you in your journey to becoming the next Steven Spielberg.
The Basics of Video Editing: The Complete Guide – Lifehacker
Video Editing (for non-editors) – YouTube
7 Simple Tips To Make Video Editing Easier For Beginners – Trakax
