How to use Track Changes in Word
Track Changes is a tool in Microsoft Word which allows you to show any markups, changes or comments made to a document.
In this post, I’ll teach you how to use Track Changes to edit Word documents, and how to accept or reject those changes as a reviewer.
Why use Track Changes?
It is particularly useful when you are sharing documents with other colleagues, because it allows you to see exactly what changes were made, and by whom. In addition, it gives more power to the owner of the document who can accept or reject any changes made to the document.
Digital communications often shares Word documents containing website content with colleagues across the University, and asks them to use Track Changes to make edits or queries. This allows us to clearly see what edits have been made and greatly speeds up the amount of time we spend editing web pages.
How to use Track Changes
If you do not know how to use Track Changes, Microsoft has a very useful online guide to using Track Changes.
You can also follow these steps if you are using the desktop Microsoft Word app:
Turn on Track Changes
- Open Microsoft Word.
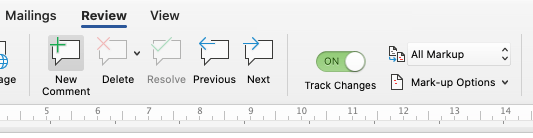
- Choose the Review tab at the top of the document.

- Either click the Track Changes button (PC) or toggle the Track Changes switch (Mac).
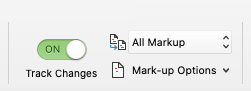
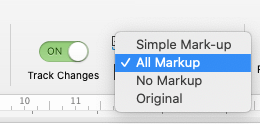
- Make sure that you change ‘Simple Markup’ to ‘All Markup’ from the drop down bar next to Track Changes.


Edit
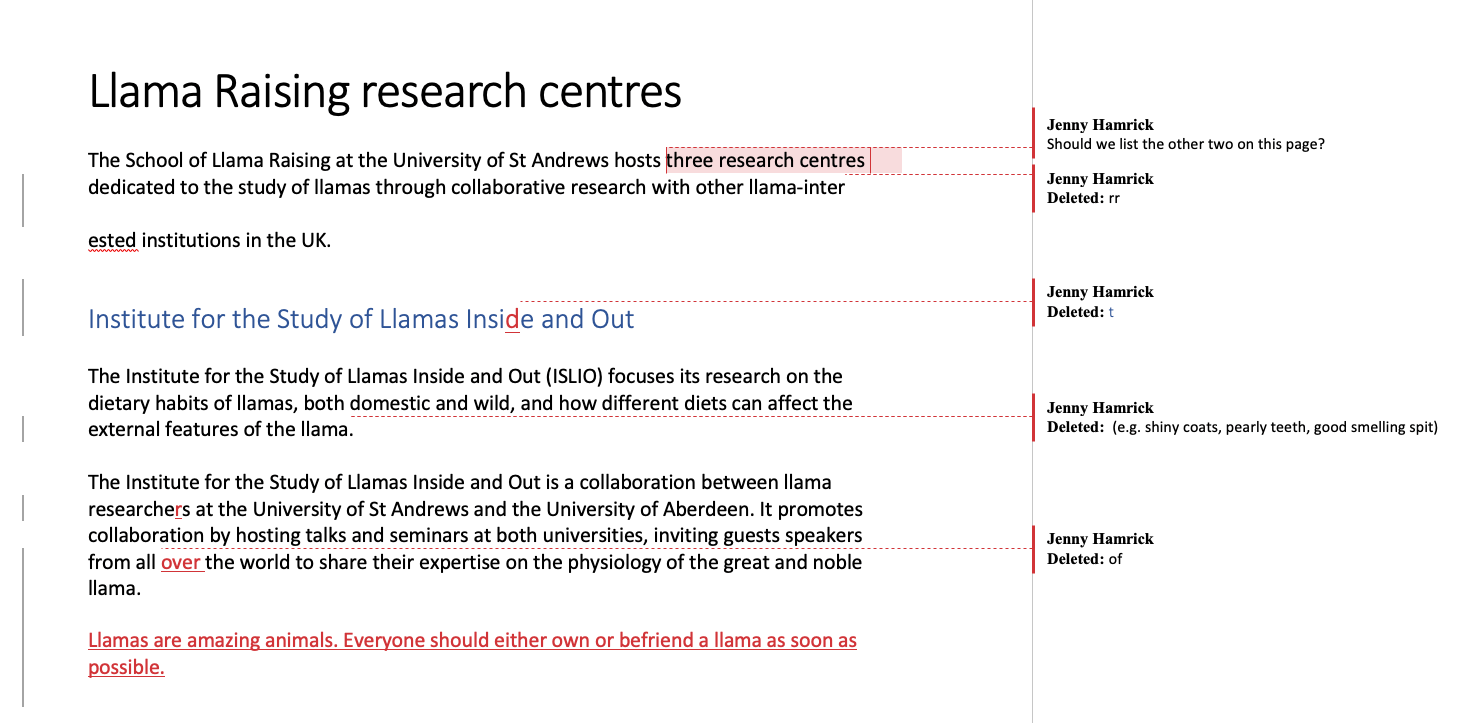
Once Track Changes is turned on, you can start editing the document. Any changes you make to the text will be marked by a grey bar on the left side of the changed text.
When you add text, the added text will be in a different colour to the normal text – making it easy to spot for reviewers.

When you delete text, the deleted text will be noted in a comment in the right margin of the document.

When you reformat text, the type of reformat will be noted in a comment in the right margin of the document.


You can also comment on pieces of text by selecting New Comment from the Review tab. The comment will appear in the right margin of the document.

Review
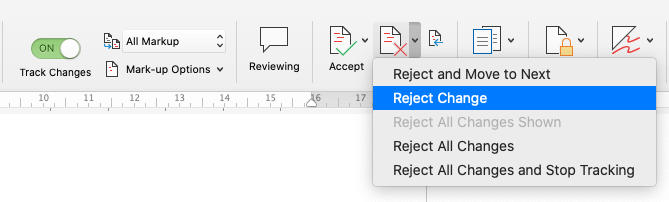
If you are reviewing a document, you can either accept or reject changes made by another person. To do this, simply click on the changed text (or the note in the margin) and then select either Accept or Reject from the Review tab.
You can also choose to accept or reject all changes at once from the drop down menus beside each option.
Turn off Track Changes
To turn off Track Changes, simply click on the Track Changes button or toggle again.