Design sprints
To help improve the development of the University website, we have begun implementing the methodologies of ‘design sprints’ into our process. Our friends over at the University of Dundee were so kind to include some members of the digital communications team in their very own design sprints. We have found them to be very beneficial in achieving quick, successful results. Jumping right into it, first question’s first…
What is a design sprint?
A design sprint is a framework for answering critical business questions through design, prototyping, and testing. The design sprint process allows the users and stakeholders of a product/project to fully understand any problems, and then collaboratively generate design ideas to a possible solution.
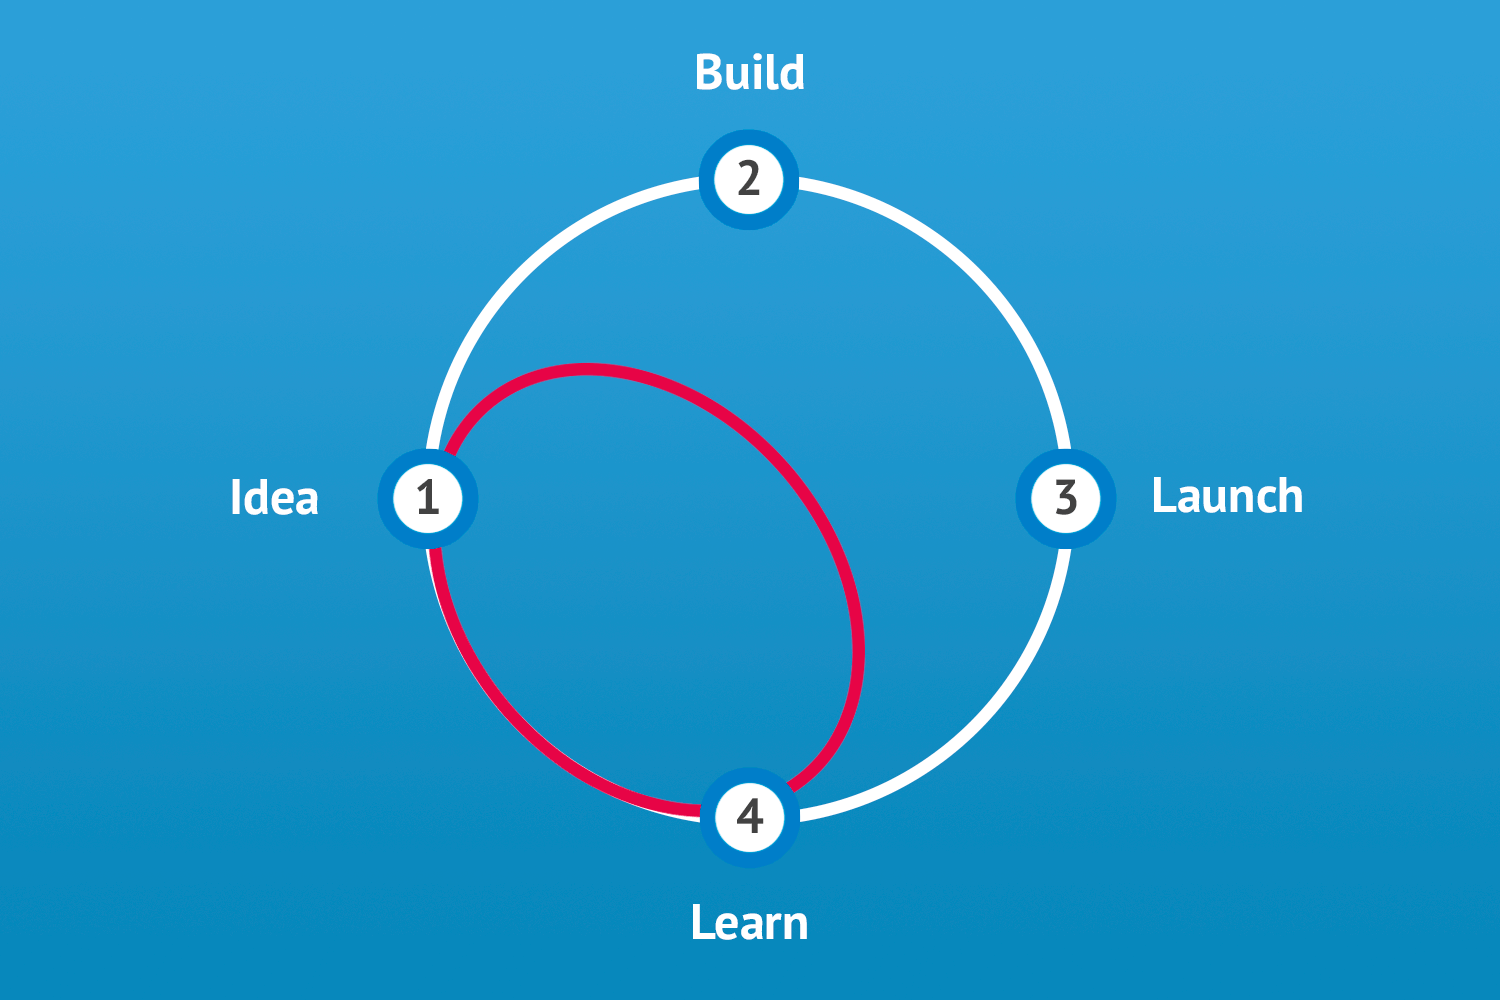
The key to design sprints is, unsurprisingly, the speed at which a viable solution can be reached. By creating alignment around a problem, building prototypes based on potential solutions, and validating them with real users, actionable feedback can be generated at a very early stage in a project. This saves a lot of resources.
What is the timeline of a design sprint?
The University of Dundee has been running focused design sprints that run the span of a focused three day period.
One full day is dedicated to capturing ideas generated from staff, students, and members of the public. We have decided to slim the time spent on this process down to focus on the main deliverables from participants. Instead of a full day for participants contribution, we have crunched the workshop into a four hour window. It is recommended that within this time frame that no more than 15 participants attend as there is a lot to get through.
When developing potential solutions for the updated research website, our biggest question we wanted answered was: “What content is actually required for a University research homepage?”
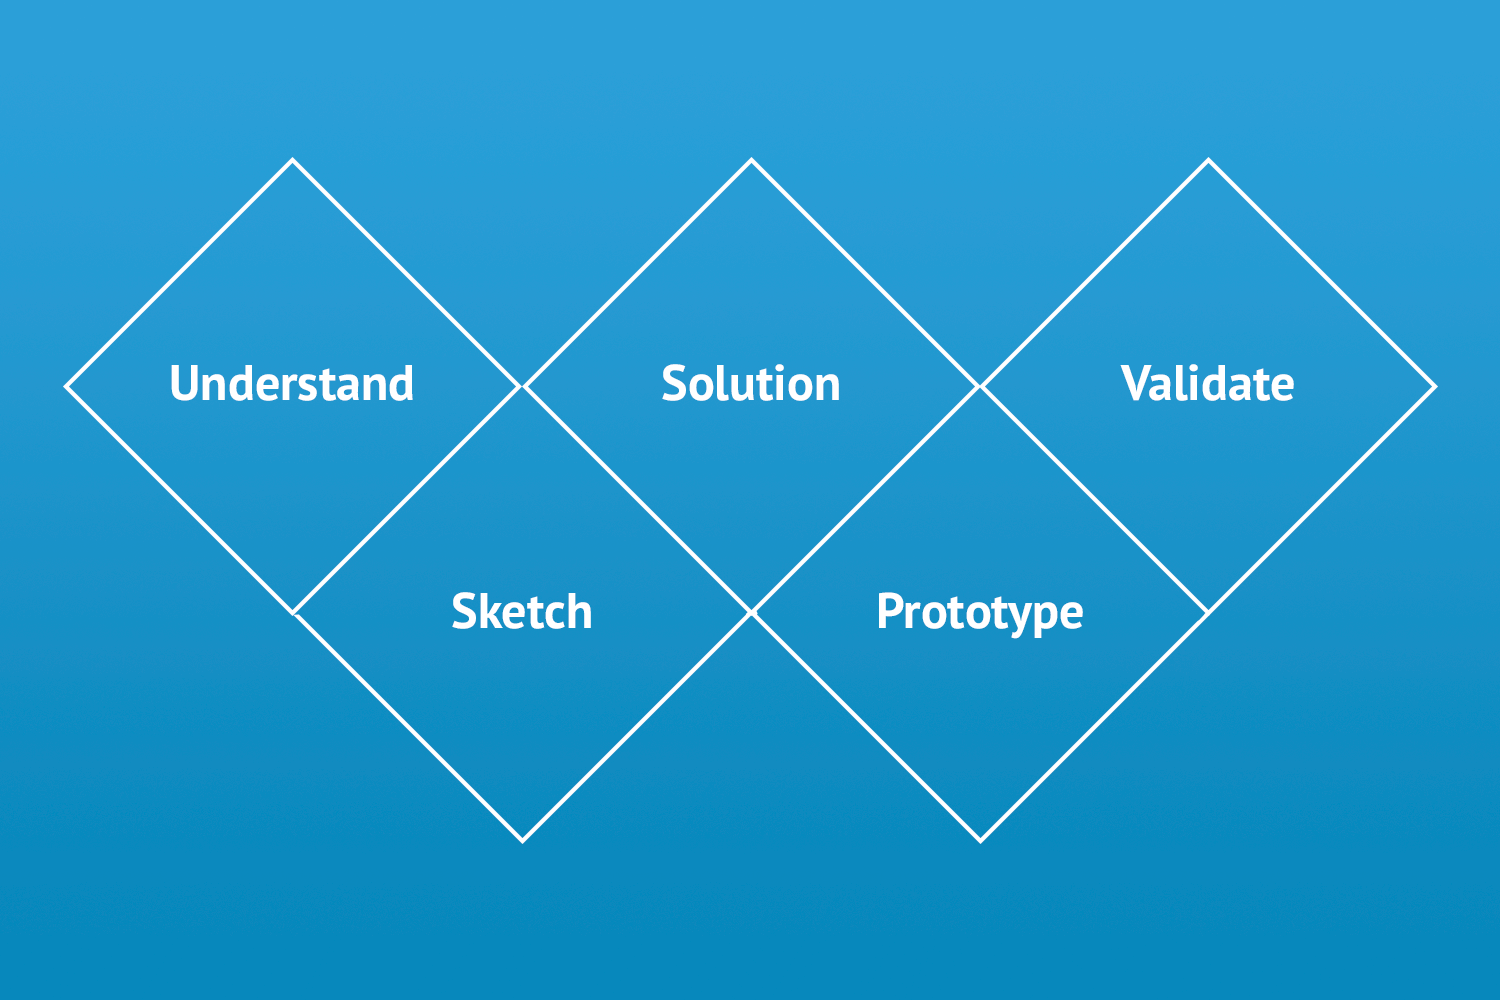
There are various stages within the design sprint framework. Each stage is essential in capturing worthwhile feedback for a potential solution.
Stage 1 – Understanding the problem
Bringing representatives of user groups, stakeholders, and any willing participants together into a workshop environment, and communicating the problems faced is the first main step of a design sprint. By the end of this stage, it is important that everyone in the room understands what the main hurdles are in attempting to reach a successful solution. Present prior identified problems and captured data to fully illustrate the problems. Examples of which could include:
- Website top tasks
- User stories
- User feedback
- User journey
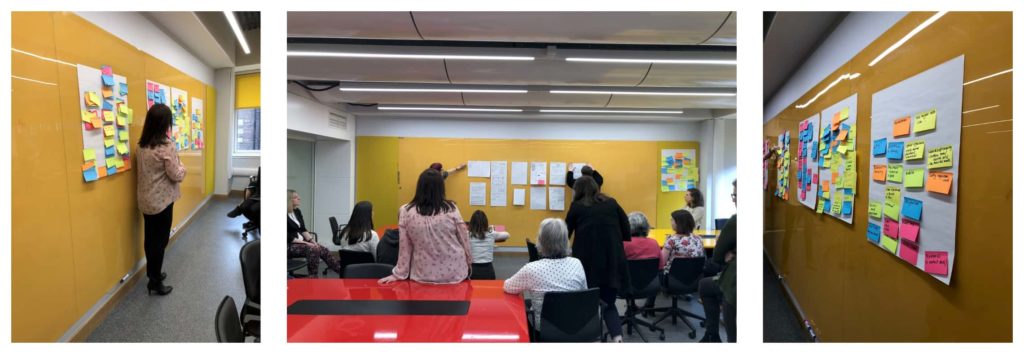
Discuss the problem as a group and define the content requirements for a site/page. At this point, it’s worthwhile working in small groups to write down all potential content types that could be required. Capture them with post-it notes or any alternative method and present your group’s findings. Present and share the findings with all attendees and common themes and trends will start to emerge. At this point, everyone will be on the same page and understand the problem.
Stage 2 – Sketching solutions
Now it’s time to bring out the crayons and allow everyone to get creative with an activity called “Crazy 8’s“. It’s not as crazy as it sounds. But there is an element of time pressure.
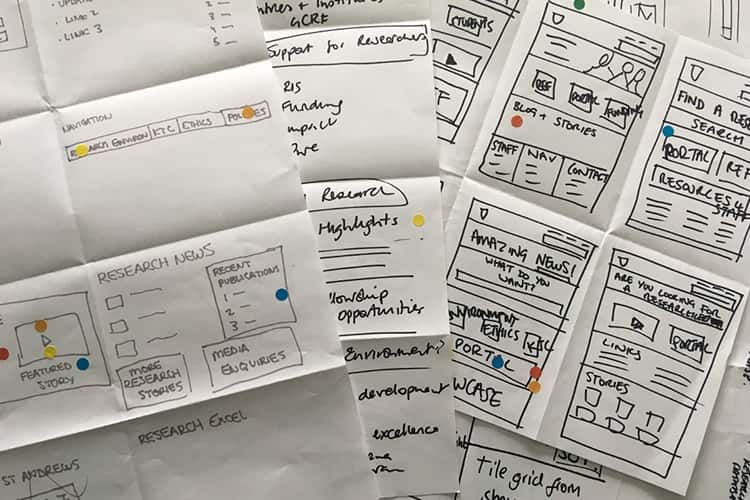
Each participant gets a sheet of A3 paper and then folds it into eighths. Within each eighth section of the sheet, each participant is required to sketch out an idea of a potential solution that will aid in solving the problems discussed in the earlier stage. This could be a sketch of some web elements, rough notes, icons, or an entire webpage. So long as an idea for a solution is captured, there is no wrong sketch.
This stage allows everyone to be a designer. Stakeholder’s and user’s ideas are shared, and they have their contribution to helping solve the problem.
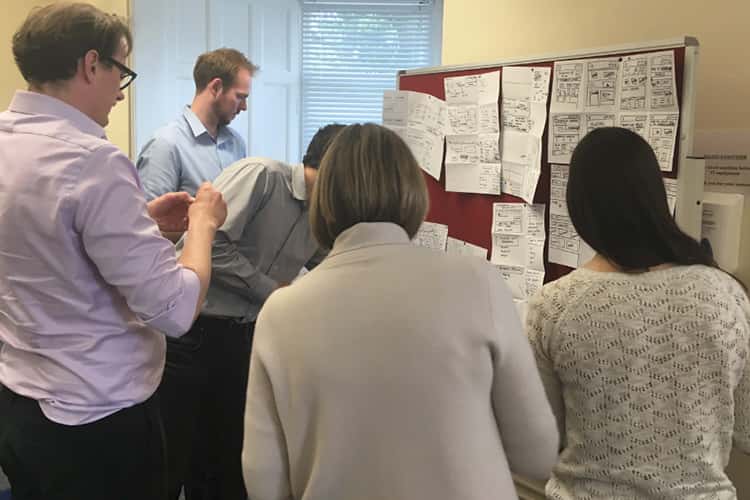
The sketches are presented, and all participants are able to vote on the best ideas.
“The immersive process means the group agrees on and shapes the design — moving away from the old delivery and review process that can be painful for all.”
Rebecca Sheasby, Senior UX Designer
The Telegraph Digital Engineering and Product team
Step 3 – A potential solution
Having voted on the best ideas presented, a clearer picture of a possible solution will start to emerge. Participants can sketch a potential webpage that captures the content requirements and incorporates the ideas presented in the sketching stage.
It is at this stage where a designer steps in to translate all of the ideas and sketches into something more feasible. By combining the common themes and trends that emerged from the presentations, the designer can apply web standards, branding, and user experience knowledge to deliver a polished final sketch. This can be done during or after the main session with participants, but ideally, stakeholders and users are present when reaching a conclusion.
Next, we feed the sketch into a computer, and we can prototype.
Step 4 – Prototype
The prototype is a proof of concept that captures all of the findings from the design sprint session. It should be realistic enough to assess the viability of a solution to the problems faced, but only have limited functionality to the key interactions.
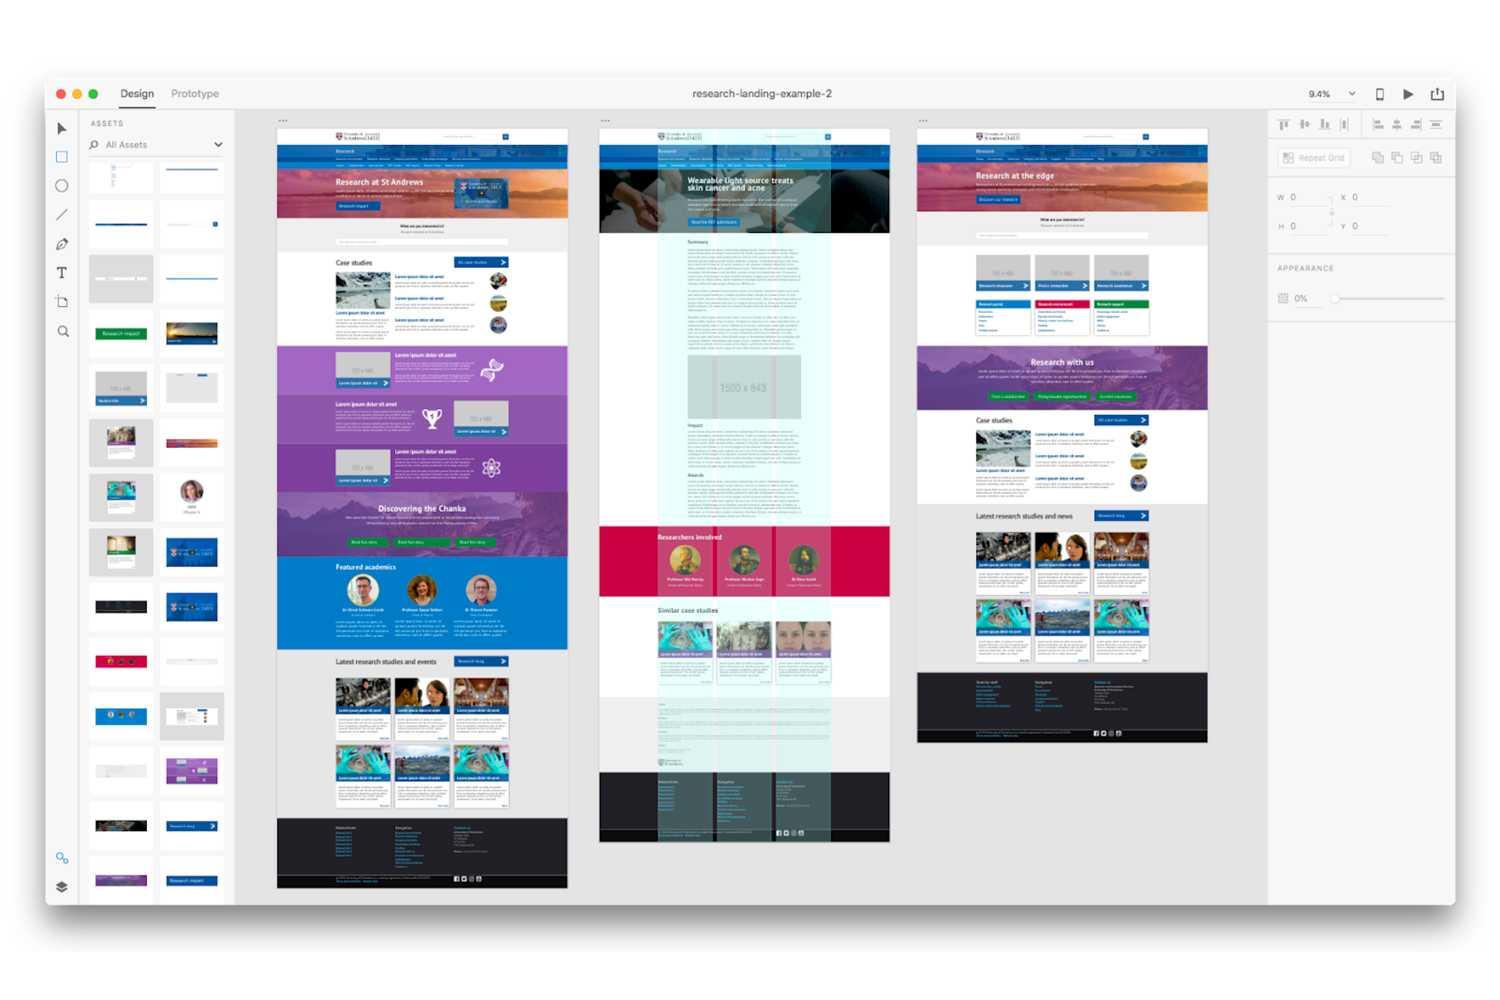
We used a prototyping tool called “Abode XD” to create viable solutions.
Using this software allowed us to quickly create a mock-up of a webpage that included similar UI to the final product. Prototypes were exported as PNG files and uploaded to a prototyping platform called “Marvel“. At this stage, the limited functionality could be implemented. Prototypes in Abobe XD typically took three to four hours to create while adding the functionality in Marvel would take around one hour.
What would take days to create a fully functioning product that could be the wrong solution, we managed to build a limited functioning prototype in just a few hours.
Now we could assess whether or not the solutions used required any iteration.
Step 5 – Validation
By using the prototype, user testing can be run to gather feedback. Issues with the solution can be discovered allowing us to improve the prototype after testing. Once a new iteration has been created, simply test again.
This quick turn around phase is the main benefit from the design sprint process. You will soon realise whether or not you are onto a winner, or you need to start again from scratch. At least you haven’t wasted months of time building the wrong solution.
Potential outcomes of a design sprint
After testing, there will be one of three outcomes from the design sprint process.
An efficient failure
The prototypes didn’t hit the mark, but lessons were learned and weeks or months of time was spared on building a wrong solution. The design sprint process may start again and go back to the drawing board.
A flawed success
Some of the solutions and ideas met users’ needs, but not all of them. Improvements can be made to the prototype.
A big win
The prototype completely met the user’s needs. They were able to complete tasks easily and engaged with all the features mapped out. Work on the final product can now begin.
Do design sprints actually work?
As well as ourselves, design sprints have generated effect solutions to problems faced by organisations including:
Design sprints help solve big problems in a short period of time by exploring and discussing ideas with all relevant parties.
“Bringing together people from around the business meant it was truly a collaborative effort, everyone had their say and could bring their expertise to the experience.”
Becca Allard, Marketing Manager,
The Telegraph Digital Engineering and Product team
